
The electronics came!

I got the electronics kit from Anthony (TD-8266 on the boards). These are the electronics he builds into the guns he sells. It comes with a trigger, speaker, LED light to light up the barrel, a plug to charge the battery with a wall charger, a small light to indicate the strength of the battery, an on-off switch, and a small circuit board to connect it all together.
To start, I have to get the trigger wires installed through the body of the gun so I can finish assembling the gun.
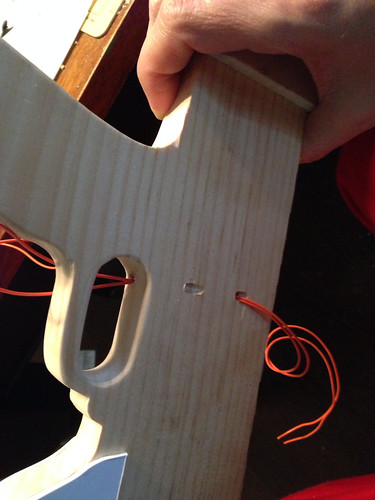
Drill hole #1: Up an an angle from the trigger area:

Drill hole #2 involved drilling down from the top of the gun to meet the first drill hole. But I had to do a third hole because I didn’t want the wires coming out the top — I needed them to come out the side where the PVC barrel piece is (further up the side of the gun than what the first drill hole gave me). So I drilled a third hold right where the PVC barrel piece would be to meet the second hole.
This shot shows the holes from drill #1 and #3 and the trigger wire carefully threaded through. I had to bend the wire and twist it as I fed it through to keep it from going the wrong direction and have it come out the wrong hole.
This shot shows drill hole #2 on the top of the gun:

The trigger mechanism was just barely too tall for the trigger area I had cut out so I used an xacto blade to chisel out a portion of the wood so the trigger could fit:
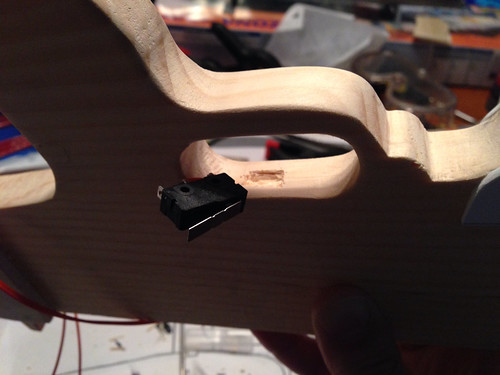
Here’s the trigger mechanism in place with a small shim to hold it tightly in place.

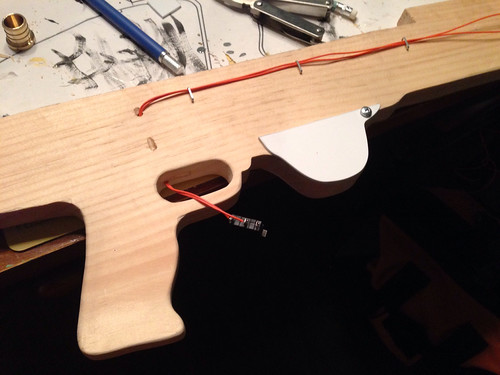
Here I’ve secured the trigger wire in place under where the PVC barrel will go. I just used heavy duty staples. I didn’t hammer them down hard. I left some breathing room so the wire could be pulled in either direction to size it right when doing the final installation.
Note the screw on the plastic piece. This gun is put together entirely by glue. But there are several places where there are screw heads on the finished product to add visual details. For those I just cut the heads off of screws and glued the heads down.
This is where the fun begins. I finally get to start securing all of the cool parts to the side of the gun and making it look like a gun. First is the barrel over the top of the trigger wire. I used bondo on the bottom edge to smooth that transition (and because the cut on the PVC was less than clean or straight).
(oh, and the trigger wire is actually on the other side but you get the idea)

Gluing down the styrene greeblies:

I’m really happy with how it’s turning out. I’m a new fan of bondo. Here I’ve smoothed the transition between the barrel and plastic pieces and the wood using bondo sanded down:

Slight detour now as I outline some work on a few other pieces.
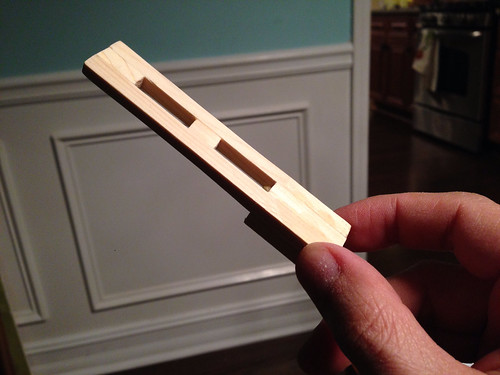
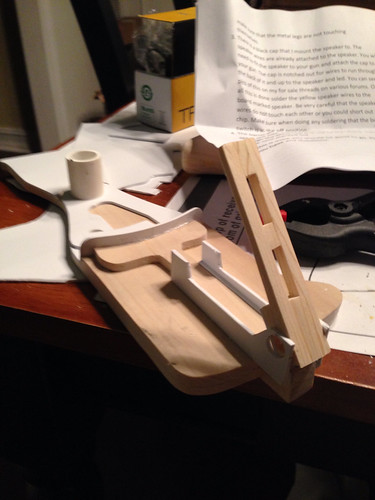
I built the movable sight for the top of the gun using a cheap square rod I bought at Home Depot:
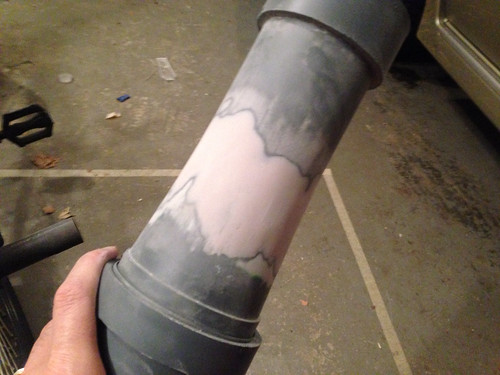
I also decided to go back and redo the bondo on the big barrel. I wasn’t happy with how much I sanded away the first time because you could see the line where the cup ended and the grey barrel began. So I slopped a ton on this time and sanded very carefully.
Alright — I’ll sign off of Part 2 at this point. But I’ll end Part 2 with this awesome photo!

Next up will be the paint job and installation of the rest of the electronics!