
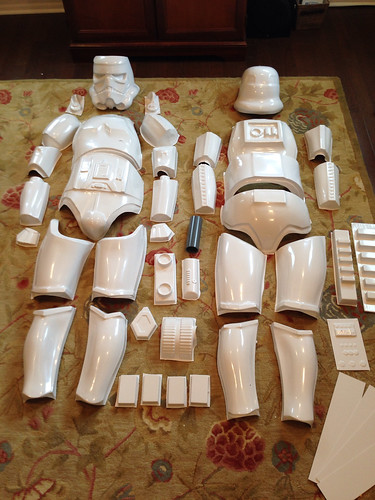
Many people start building the helmet first (as I did) because it’s such an iconic part of the design. But for me, getting the body armor kit was more exciting. This is stuff you can’t buy anywhere else, even in a horrible department-store mass produced fashion. This is it. This is the real deal. Once a person completes this part of the assembly they are a screen-accurate stormtrooper.
But that is easier said than done. It is a LONG process. This post will abbreviate the effort but hopefully still provide some insightful information.
First off is the “big box” shot, unopened:

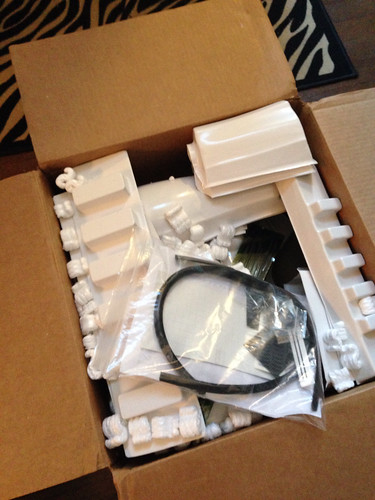
The MTK kit came with everything needed to build either a stormtrooper or a sandtrooper (with the exception of the helmet decals — that has to be specified at the time of ordering).
Overall I’m really pleased with the kit. There are some places where the return edges are a little loose and the fit of the appendages are dissimilar in some cases (one forearm is tighter than the other, one calf is tighter than the other). But I don’t have anything to compare it to so maybe all kits have quirks like that.
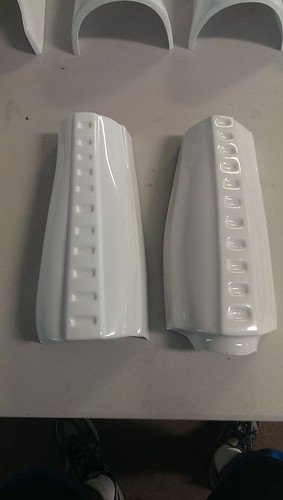
I have a brother and a nephew on another coast building NE and MTK kits respectively so I can show a picture of the difference in the forearm piece that they sent me. The NE kit’s lines are more crisp in this shot.
So why is the build process so lengthy? Each piece has to have a return edge measured, marked, cut, and sanded. Putting the two pieces of an appendage together requires measuring, marking, and cutting excess off of adjoining edges, plus several nights of gluing.
Here it is in pictures:

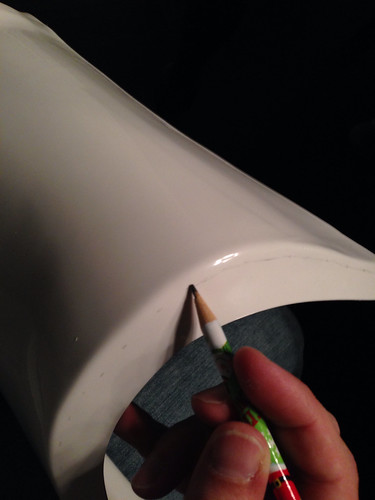
Here I am marking the return edge more fully (but on a different piece — sorry — but you get the idea).
I failed to get a picture of the next step but I cut along the marked line with an Xacto knife. I didn’t cut all the way through. Only scored it 2 or 3 times.
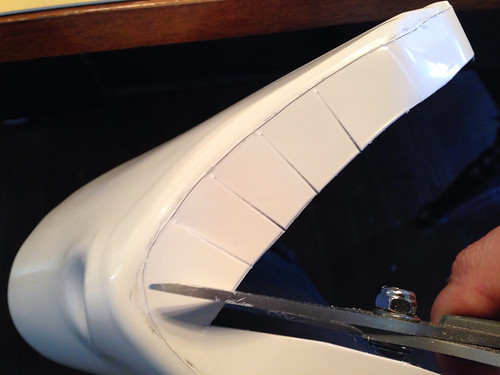
Then I cut out the excess with scissors:

After quickly cutting out the excess I cut lines perpendicular to the Xacto knife cut line, being careful not to cut beyond the Xacto knife cut line into the actual return edge itself.
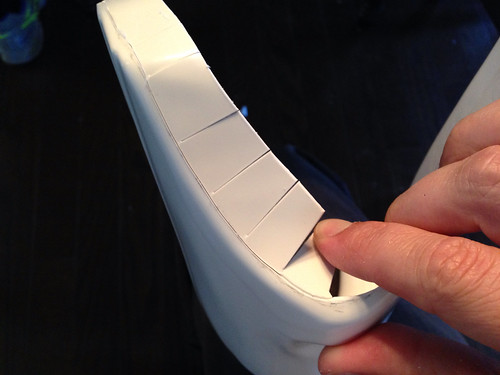
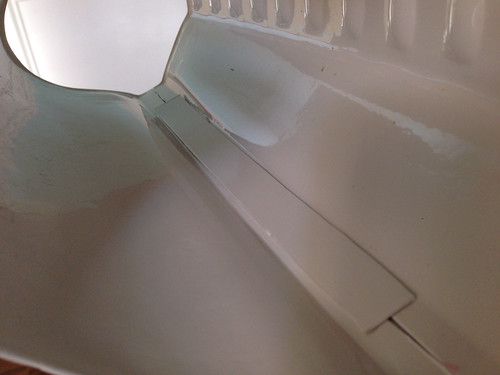
After cutting the perpendicular lines I can easily snap off the extra plastic:
After sanding you get this (note that on this particular piece — the forearm — I cut the return edge off entirely, which is common both for comfort and to be screen accurate).
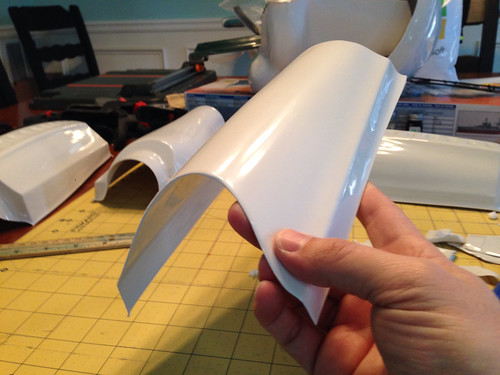
On the above picture you can see the “ridge” that runs down the length of the piece. Those ridges get trimmed so that there is only about 3/8″ of plastic on which to glue the connecting cover strips.
Here is a picture of the first gluing:
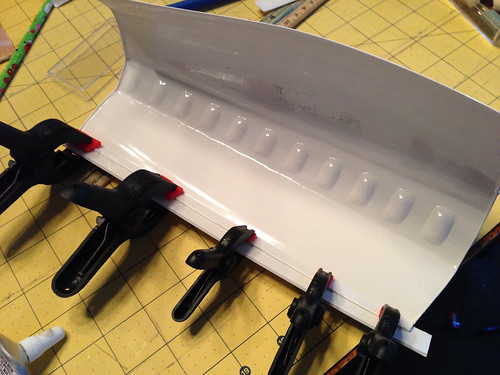
Gluing together the two pieces of, say, a forearm, is obviously a little trickier because the clamps don’t reach in to the middle of the forearm so rare earth magnets are used to hold the cover strip tight against the armor pieces.

To strengthen the connection between the two armor pieces I added inner strips, made from discarded trimmed plastic:
So that’s the basics of trimming and assembling the armor, particularly the appendages. But because the gluing has to set overnight, the most efficient practice was to put all of my clamps and magnets to work and have several pieces at different stages of assembly being glued at one time:

That’s it for part 1! Future posts will cover how I handled mistakes, assembling the ab/torso portions, painting, trial fits, and more!