
Alright so here’s the story of me building a screen-accurate stormtrooper helmet complete with lots of pictures!
The first step in the process was to study up on how it all works, where to get the armor kits, and how to put it together. This is all documented in the fan forums on whitearmor.net.
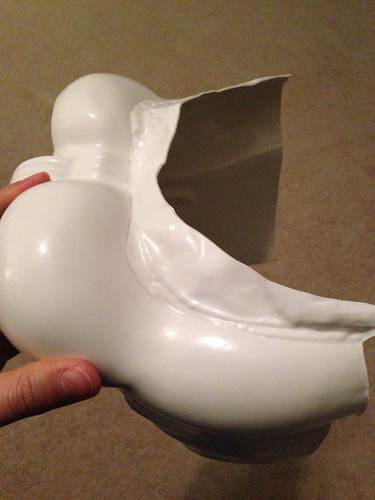
This kit is what’s called an ATA helmet. There are a handful of people on the planet who have plastic molds to create the separate pieces of stormtrooper armor. After paying thru paypal, the person sends you plastic straight out of the molds like this:
[picture here of kit]
The process involves trimming pieces that aren’t supposed to be there (cutting out the eyes, holes for the teeth, etc) and also trimming off the excess that exists on the pieces as a result of the mold process.
Here are a series of pictures of me marking cut lines with a pencil and/or with painters tape and cutting/filing:


Scoring the cut line over and over again until you cut through would take FOREVER. So instead you score the line a few times and then cut/score perpendicular to the cut line and the plastic just snaps off.


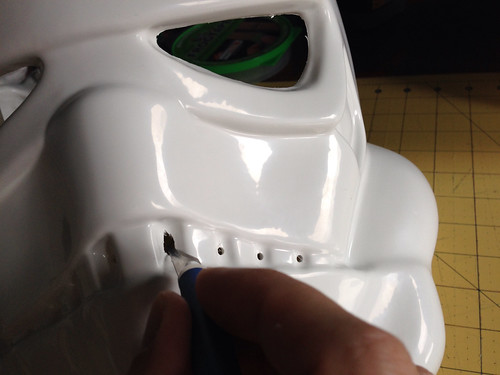
Cutting the plastic is kinda nerve-wracking because of course if you cut too much off… well… that’s it.

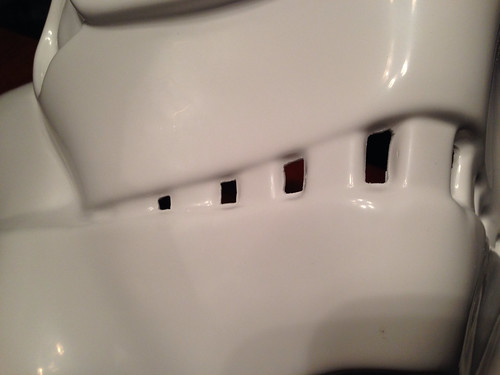
I tried not to push it with the knife and instead used a file to finish up the final detailing on the teeth.

After the bulk of the cutting was done it was time to start fitting it together. There is allowance for individual preference with how low the brow sits above the eyes.

Here I’m checking the fit of the sides. It’s interesting that this doesn’t really look like it’s fitting together at all… but once the ears and neck seal are installed it looks great.

Once I was satisfied with the placement of the two pieces and the height of the brow above the eyes it was time to install rivets to hold the thing together.
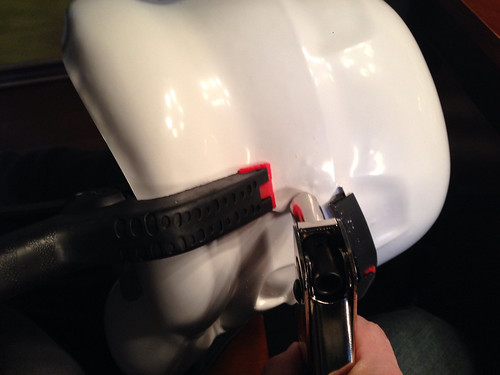
Here you can see two rivets installed. The lower of the two rivets was supposed to be installed much lower, down at the bottom where the two piece meet. But I cut off too much excess plastic of the either the face or the cap/back piece (or both) so there wasn’t enough overlap. So instead I glued the pieces together at that point and then reinforced it on the inside with some glue-soaked canvas (next picture down).

(the red color on the canvas is from the small clamp – which was red- that was used to hold it together as the glue dried)

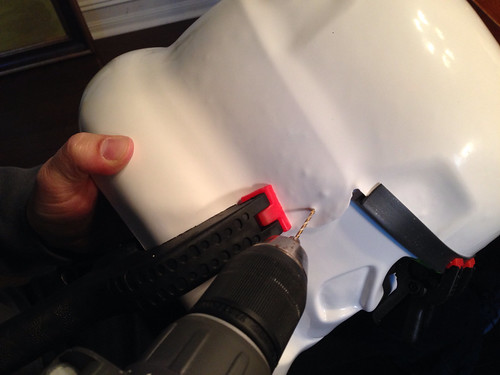
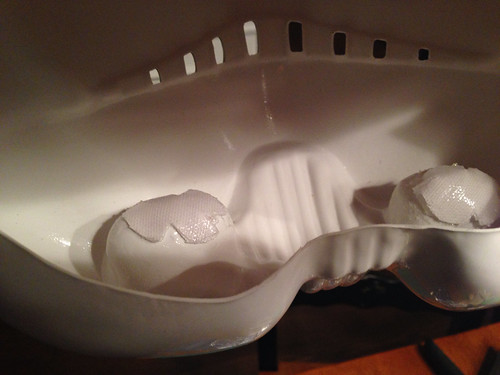
The glue-soaked canvas trick came in handy again to reinforce the place where the stormtrooper’s mic tips are installed. Evidently that part of the plastic mold is typically thinner than the other parts and would break under the pressure of installing the mic tips later on. (This ended up being absolutely true. When I drilled the holes for the screw for the mic tips the plastic around the drill hole cracked… so it’s a good thing this reinforcement was there so there was some meat for the mic tip to attach to)
The ears were the biggest challenge. The molded plastic does not have natural cut lines for the curve to fit around the tubes. So the process involves cutting an eighth of an inch, holding it up to the helmet to see where to cut next, cut off another eighth of an inch, etc. The ATA kit comes with two sets of ears simply because people mess up so much… and sure enough, I trashed the first set of ears by cutting off too much. So on the second set I erred on the side of not cutting enough off.


I still have a long way to go:

Done! (enough)
I do think that ideally I should/could trim more off. But again after trashing one set by cutting too much off I’m gonna pause here and move on to other things rather than risk trashing my second (and last) set.
Here’s a view of the eye visor plastic installed:

The blue stripes on the tubes and the grey in the “tears” and trapazoid shapes on the head are decals I purchased from another seller. Some people paint them by hand but these decals look better than what I could have done painting them by hand.

I watched a tutorial online for how to chop up a $6 hard hat from Home Depot in order to use the liner for the stormtrooper helmet.
So here I am cutting pieces off of the hard hat that will be glued inside the helmet.


The finished helmet! Painted the teeth, chin, mic tips, and the ear rank area. Had to be a nerd and try it on with the orange shoulder pauldron!

Stay tuned for another installment covering the construction of the rest of the armor, including weathering it for the sandtrooper look!