
I learned a lot from the first test fitting covered in the last post. First off, the calves are extremely tight on MTK. Meaning, using regular-sized cover strips, it will be tough to close the calves in the back at the bottom.
So I decided to remove the return edge on the bottom of the calves.

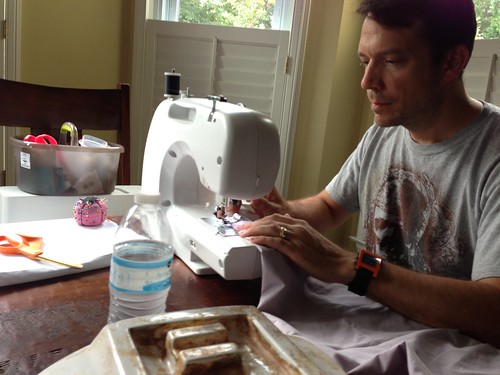
Here’s my wife pitching in again, this time to sew the canvas belt:

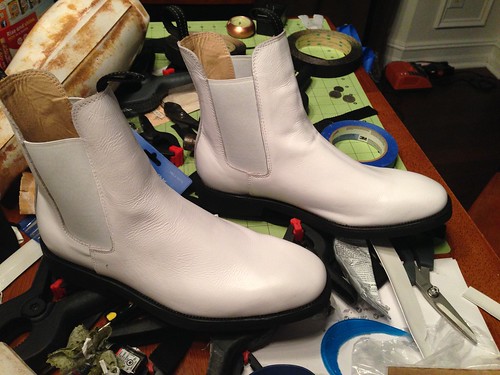
I also managed to pick up some TK Boots after they had been out of stock for months!
Now time to get dirty!
I used the following paints:

- Ivory Black
- Burnt Sienna
- Neutral Gray Value 5
- Cadmium Yellow Deep Hue
- Titanium White
The painting was done in three passes.
- First pass was a mix of the Burnt Sienna and Gray. I applied it with a sponge, waited a minute or two for it to mostly dry, and then rubbed most of it away with a slightly damp rag. I learned over time that I got the best results when I dabbed the sponge in the paint mixture but then rubbed the paint around in a circular motion on a piece of scrap paper before applying it to the armor. This distributed the paint evenly over the surface of the sponge but also wiped most of the paint off so that the sponge barely had any paint on it when I applied it to the armor.
- For the second pass I just added a LOT of yellow and some white to the mixture from the first pass. I applied it the same way as the first step.
- For the third and final pass I used a paper towel to apply straight black to the armor in certain parts and then immediately wiped most of it off using a clean paper towel (instead of letting it dry mostly like in the previous steps).
Here is a picture after just the first pass:
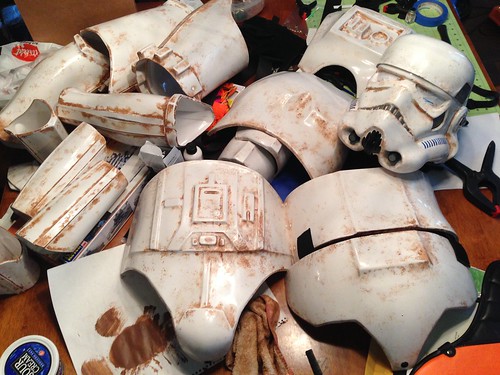
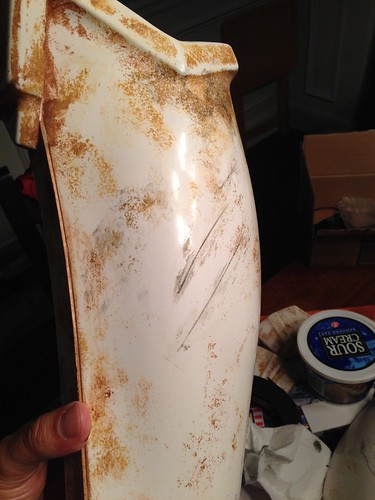
Here’s a shot of a finished leg piece, complete with markings where the trooper bumped up against machinery or got grazed in battle:
Here’s a video of the finished helmet:
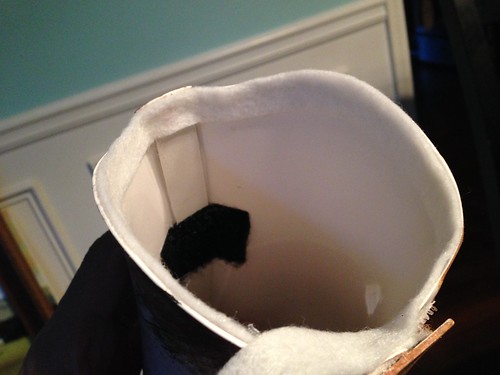
After some test fits with the paint complete I realized another mod I had to make. The shins/calves were eating up my leather boots!

So I installed some felt around the rim of the bottom of the pieces:
I also trimmed down the ear screws with a hack saw and covered them with foam.

Lastly, I bought a big 54 gallon Rubbermaid tote to transport and store the armor. But I didn’t want the pieces to clank around in the tote causing scratches and perhaps rubbing away the paint job. So I sewed (yes, me this time!) pillowcase-style bags for each piece.
Once the pieces are in the bags I can stack them together like a Russian doll to save space. This picture shows a forearm piece, inside a calf piece, inside a thigh. They do all sit inside each other — I pulled them out for the picture a bit to show the way they fit together.

Alright — that’s it for part 4. I’ll save pictures of the finished product for part 5!